Introduction
Hard water is a hidden problem in many homes across the United States. It may not seem like a big deal at first, but the effects are everywhere—soap that doesn’t lather well, spots on dishes, dingy laundry, and most importantly, scale buildup inside pipes, fixtures, and appliances. Over time, hard water costs homeowners hundreds if not thousands of dollars in reduced appliance efficiency and early replacements.
The most effective solution? Installing a water softener. In this article, we’ll walk you through everything you need to know: what a water softener does, tools and materials you’ll need, step-by-step installation, maintenance, and professional tips for success. Whether you’re a DIY enthusiast or considering hiring a professional, this guide will give you a clear understanding of the process.
What Does a Water Softener Do?
A water softener removes calcium and magnesium—the minerals that make water “hard”—through a process called ion exchange. Inside the system, hard minerals are swapped for sodium or potassium ions, leaving you with softer water that’s easier on plumbing, appliances, and your skin.
Benefits of Installing a Water Softener
Protects plumbing and appliances from scale buildup. Improves efficiency of water heaters and dishwashers. Saves money on soap, detergent, and cleaning products. Softer skin and hair after showers. Cleaner laundry with brighter colors and softer fabrics. Fewer water spots on glassware and fixtures.
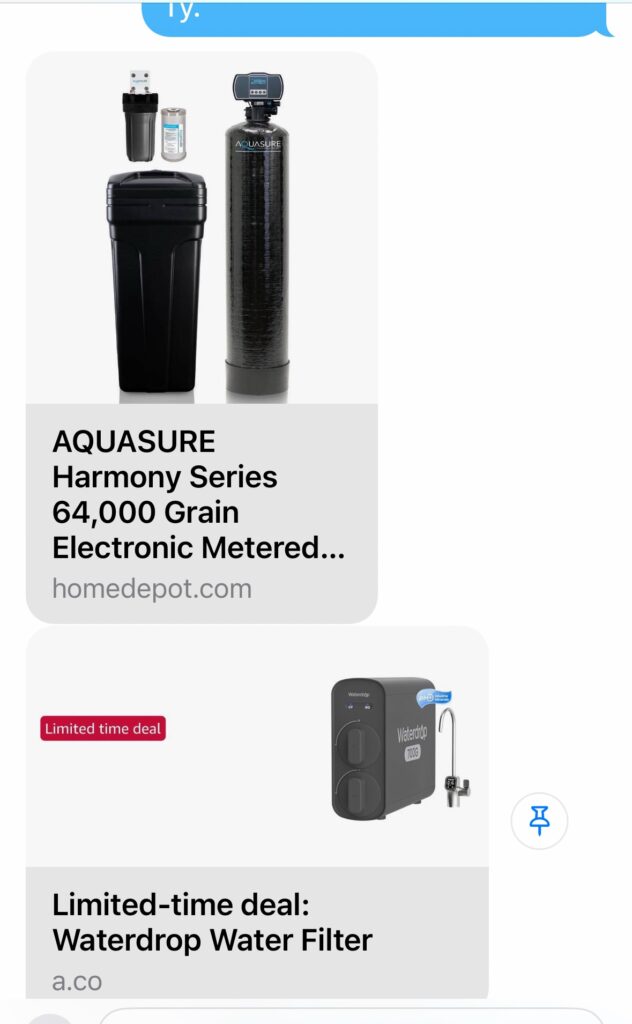
Choosing the Right Water Softener
Before you begin, it’s essential to choose the right system for your household. Factors include:
Water Hardness Level You can test your water with a hardness kit or request a water quality report. Hardness is measured in grains per gallon (gpg). The harder your water, the larger the softener you’ll need. Household Size and Water Usage A family of four will need a higher-capacity unit than a single homeowner. Type of System Salt-based ion exchange softeners (most common). Salt-free conditioners (prevent scale but don’t remove minerals). Dual-tank systems (continuous soft water, ideal for large households).
Tools and Materials You’ll Need
If you’re installing the system yourself, gather these tools first:
Water softener unit and brine tank Flexible water supply hoses or copper/PVC pipe Bypass valve (usually included with the softener) Pipe cutter or hacksaw Adjustable wrench and pliers Teflon tape and fittings PVC primer and cement (if using PVC) Drain tubing and hose clamps Bucket and towels for water spills
Where to Install a Water Softener
The best location depends on your home’s plumbing setup, but generally, you want to install the softener where the main water line enters the house—before it splits into different plumbing branches.
Key Location Considerations
Close to a drain (for backwashing). Near a 120V electrical outlet (for the control head). Accessible for salt refills and maintenance. In a basement, garage, or utility room that doesn’t freeze.
Step-by-Step Installation Guide
Step 1: Shut Off the Water Supply
Turn off the main water supply to the house and open the lowest faucet in your home to drain water from the pipes. This prevents leaks and makes cutting into the plumbing easier.
Step 2: Bypass or Disconnect Existing Equipment
If you already have a bypass loop installed by your builder, you can connect the water softener directly to it. Otherwise, you’ll need to cut into the main line and install a bypass valve so you can easily turn the softener on or off for servicing.
Step 3: Connect the Inlet and Outlet
Identify the inlet and outlet ports on the water softener. Connect the incoming water line to the inlet, and the outlet to the house’s plumbing system. Make sure fittings are secure and use Teflon tape to prevent leaks.
Step 4: Install the Drain Line
Water softeners need to flush minerals during the regeneration cycle. Connect the drain hose to the softener and run it to a nearby drain, utility sink, or standpipe. Use hose clamps to secure connections, and ensure the drain line has an air gap to prevent backflow.
Step 5: Set Up the Brine Tank
Attach the brine line between the water softener and the brine tank. Fill the tank about halfway with water, then add salt pellets. The control head will draw brine from this tank during regeneration.
Step 6: Flush and Test
Slowly turn the water back on and check for leaks. Open a nearby faucet and let water run until it’s clear of air and debris. Program the softener’s control valve according to the manufacturer’s instructions—enter your water hardness level, time of day, and regeneration cycle.
Professional Tips for a Smooth Installation
Check local codes: Some municipalities require permits or specific drain connections. Install a sediment filter: Protect your softener from sand, dirt, or rust particles. Use flexible connectors: They make future maintenance much easier. Don’t oversize or undersize: A unit too small will regenerate constantly, while one too large may waste salt. Regenerate at night: Set the system to regenerate when water demand is low.
Maintenance After Installation
Water softeners are relatively low-maintenance, but they do require regular care to keep working properly.
1. Refill Salt
Check the brine tank monthly and keep it at least half full of salt pellets. Avoid overfilling to prevent bridging (a solid salt crust forming in the tank).
2. Clean the Brine Tank
Every 6–12 months, empty and rinse the brine tank to prevent sludge buildup.
3. Resin Bead Care
Resin beads typically last 10–15 years, but if your water feels hard again, the resin may need replacement.
4. Inspect for Leaks
Periodically check fittings and drain lines for drips or loose connections.
DIY vs. Hiring a Professional
Many homeowners can install a water softener with basic plumbing skills, but professional installation is worth considering in certain cases.
DIY Advantages
Saves $300–$600 in labor costs. Full control over the installation. Learn about your plumbing system.
Professional Advantages
Ensures compliance with plumbing codes. Faster and stress-free installation. Warranty coverage for workmanship. Expert setup of regeneration cycles and bypass.
If your plumbing system is complex, or you’re not comfortable cutting into main lines, calling a licensed plumber is the safer option.
Common Mistakes to Avoid
Skipping the bypass valve – makes servicing difficult. Improper drain line installation – can cause backflow or flooding. Ignoring water pressure – high pressure may require a pressure-reducing valve. Placing softener after outdoor spigots – wastes soft water on lawn irrigation. Forgetting to sanitize – always flush and sanitize the system before use.
Cost of Installing a Water Softener
Unit cost: $600–$2,000 depending on size and features. DIY installation: Materials cost $50–$150 for fittings, pipes, and hoses. Professional installation: $300–$600 labor (higher in large metro areas).
Total investment typically ranges from $900–$2,500, but the savings in appliance efficiency and plumbing repair make it worthwhile.
Conclusion
Installing a water softener is one of the best investments you can make for your home’s plumbing system and your quality of life. With softer water, you’ll enjoy cleaner laundry, longer-lasting appliances, and fewer headaches from hard water scale.
Whether you decide to tackle the installation yourself or hire a professional, the key is preparation: choose the right unit, plan the location carefully, and follow the installation steps methodically. Done correctly, your new water softener will provide years of reliable service and pay for itself many times over.